Live stream presenting: your complete guide for 2026

Live stream presenting is the art of delivering a slide-led talk with a simultaneous webcam feed and live audience interaction — and the fastest reliable way to do it is simpler than most people expect. Pick a browser studio like StreamYard for ease, or a minimal OBS Studio pipeline for control. Add a stable upload connection with sufficient headroom above the planned bitrate, a decent microphone, and basic three-point lighting. Then do a full dry run before you go anywhere near a live audience.
Your minimal checklist before anything else:
- Webcam or camera connected and framed at eye level
- USB or XLR microphone tested and levels confirmed
- Wired Ethernet preferred; if Wi-Fi, use 5 GHz with minimal local contention
- Second monitor or display for presenter notes
- Upload speed tested with sufficient headroom above your planned stream bitrate
- Streaming studio open and previewed at least 15 minutes before going live
- Local recording enabled as a backup
Pro Tip: Keep the technical chain as short as possible. A small, well-rehearsed setup beats a complex one every time — especially under live pressure when there is no room to troubleshoot.
Key takeaways
Reliable live stream presenting comes down to three things: a simple, tested setup; a good microphone and basic lighting; and a full rehearsal before you go live.
| Point | Details |
|---|---|
| Start simple and rehearse | A well-rehearsed minimal setup outperforms a complex one; run a full dry run with all presenters. |
| Upload speed with 20% headroom | Plan your bitrate so your upload speed exceeds it by 20%; test from the same device and network you will use live. |
| Audio and lighting first | A good microphone and basic three-point lighting deliver the biggest visible quality improvement at any budget. |
| Share the slideshow window | Always capture the slideshow window, not the editing view; keep a PDF backup of your deck. |
| Have a fallback ready | Enable local recording, prepare a backup encoder or pre-recorded file, and keep a producer backchannel open. |
| Sofiavicedomini for professional hosting | For high-stakes events where on-screen presence matters, Sofiavicedomini offers professional live presenting and hosting services. |
Table of Contents
- What equipment do you actually need for a live presentation?
- How to set up and run your live presentation step by step
- How do you share slides without them freezing or going blank?
- What upload speed and encoder settings do you need for a stable stream?
- Which streaming tool should you use for a live presentation?
- How do you keep your audience engaged during a live stream?
- Should you go live or pre-record your presentation?
- Troubleshooting common failures and your run-of-show template
- Why simplicity is the most professional choice you can make
- What an actress brings to live presenting that most guides miss
- When a professional presenter makes more sense than a DIY setup
- Sources
- FAQ
What equipment do you actually need for a live presentation?
The right kit depends on your goals and how often you stream. Corporate Streams notes that lighting, camera, audio, and an encoder are the four non-negotiable tools for professional live presentations — and that testing everything before your first event is just as important as the gear itself.
Budget tier
- Laptop webcam or a low-cost external USB webcam (Logitech C920 is a reliable entry point)
- USB condenser microphone (Blue Yeti, Rode NT-USB Mini) or a USB lavalier
- Basic ring light positioned at face level
- Wired Ethernet or a strong 5 GHz Wi-Fi connection
At this level, you can skip a capture card, audio interface, and secondary camera. The biggest upgrade you can make for under £30 is a decent USB microphone — audio quality affects audience retention far more than video resolution.
Mid tier
- Entry-level mirrorless camera (Sony ZV-E10, Canon M50) via HDMI capture card, or a high-quality UVC webcam (Logitech Brio)
- XLR microphone with a small audio interface (Focusrite Scarlett Solo)
- Softbox or LED panel lighting for even, flattering illumination
- Second monitor for presenter notes and chat monitoring
A second monitor changes the experience entirely. You can keep your slide deck on one screen, your streaming studio on another, and your presenter notes visible without the audience ever seeing them. BoxCast's picture-in-picture workflow specifically recommends connecting an external monitor and sharing that display in your studio to combine slides and webcam cleanly.
Professional tier
- Hardware encoder (Teradek, LiveU) or a dedicated encoding PC
- SDI or HDMI cameras with proper lenses
- Dedicated audio desk or digital mixer
- Multi-camera switcher (ATEM Mini Pro)
- Redundant network: primary broadband plus a 4G/5G cellular backup
Pro Tip: For one-off high-stakes events, rent the professional tier rather than buying it. Hire a hardware encoder and a second camera for a product launch; invest in the mid tier for recurring weekly streams.
How to set up and run your live presentation step by step
A clear sequence on the day removes the guesswork and keeps your energy where it belongs: on your audience.
Before the event
- Open your slide deck and enable presenter view on your second monitor.
- Launch your streaming studio (StreamYard, OBS Studio, or Streamlabs) and connect your mic and camera.
- Run a speed test from the same device and network you will use for the stream; confirm upload bandwidth has the required headroom.
- Add your scenes: one for slides-only, one for camera-only, and one picture-in-picture combining both.
- Enable local recording in your studio settings — this is your safety net if the platform drops.
- Start your encoder or studio at least 15 minutes before the scheduled start time.
At start-up
- Preview the stream in YouTube Live's Live Control Room or your studio's preview panel.
- Check how the stream looks on a mobile device — a significant share of your audience will watch on a phone.
- Confirm your stream key is correct and the platform shows the stream as active.
- Verify recording is running locally and on the platform.
YouTube Help recommends starting encoders at least 15 minutes early, previewing in the control room, and having a backup encoder ready — all three steps take under five minutes and prevent the most common on-air failures.
During the show
- Keep presenter notes on the second screen; never read from the slide itself.
- Share the slideshow window specifically, not the editing view.
- Assign a chat moderator or monitor chat on a separate device.
- Use simple scene switches: camera for introductions and Q&A, slides for content, picture-in-picture for key moments.
Wrapping up
- End the stream on the platform before stopping your encoder.
- Save and back up local recordings immediately.
- Mark timestamps for highlights while the content is fresh — you will thank yourself during repurposing.
How do you share slides without them freezing or going blank?
Stuck slides are the most common live-presenting failure, and they almost always come from sharing the wrong window. The fix is straightforward once you know the cause.
- PowerPoint: use 'Browsed by an individual (windowed)' mode so the slideshow runs in a resizable window you can share directly. Avoid sharing the editing view — it shows your notes panel and toolbars to the audience.
- Keynote: run the presentation on your primary display and use presenter view on your second monitor. Share the primary display or the Keynote slideshow window in your studio.
- Google Slides: open the presentation in full-screen presenter mode, then share that specific browser tab or window rather than your entire desktop.
Slides.com's presenter documentation confirms that sharing the slideshow window rather than the editor window is the key step — presenter mode often opens a separate window that must be captured independently.
Before going live, hide all desktop notifications. On macOS, enable Focus mode; on Windows, turn on Do Not Disturb. A notification popping up mid-presentation is visible to your entire audience.
Keep a PDF backup of your deck and a screenshot of every critical slide. If the live share fails, you can switch to the PDF in seconds without losing your place.
Pro Tip: When in doubt, share a prepared single-window browser view of your slides rather than a live editing view. It is cleaner, less likely to show unwanted UI, and easier to recover from if something goes wrong.
What upload speed and encoder settings do you need for a stable stream?
Upload speed — not download speed — determines whether your stream stays stable. YouTube Help is clear on this: plan your stream bitrate so your upload speed has roughly 20% headroom above it, and always test from the same device and network you will use on the day.
A practical bitrate reference for common resolutions:
Use Ethernet wherever possible. If you must use Wi-Fi, connect to a 5 GHz band and ask everyone else on the network to pause heavy downloads during the stream. Set your keyframe interval to 2 seconds — most platforms, including YouTube Live and LinkedIn Live, recommend this for stable playback.
Start your encoder at least a quarter of an hour before the event. This gives you time to catch dropped frames, audio sync issues, or a wrong stream key before the audience arrives. Have a secondary encoder or a pre-recorded backup file ready; if your primary setup fails, you can switch to the backup without a visible gap.
Which streaming tool should you use for a live presentation?
The choice comes down to one honest question: do you need ease or control?
Browser studios like StreamYard offload encoding to the cloud, which reduces local CPU strain and makes setup faster. StreamYard's own guidance recommends this workflow for slide-led presentations specifically: open your deck, share the slideshow window, keep your camera on, and use cloud encoding to keep things simple. Local encoders like OBS Studio and Streamlabs give you full scene control, custom overlays, and local capture — but they require more configuration and a capable machine.
| Dimension | Browser studio | Local encoder |
|---|---|---|
| Ease of setup | High — browser-based, no install | Lower — requires configuration |
| Guest support | Built-in invite links | Requires third-party tools |
| Multistreaming | Native in most paid plans | Via plugin or Restream integration |
| Production value | Good; limited custom scenes | Excellent; full scene control |
| Technical complexity | Low | Medium to high |
| Cost | Free tier available; paid from ~£20/month | Free (OBS); Streamlabs has paid tiers |
Quick guidance by tool:
- StreamYard: best for presenters who want a clean, guest-friendly setup with minimal configuration. Ideal for sales presentations, webinars, and panel discussions.
- OBS Studio: best when you need custom scenes, local video capture, or advanced audio routing. Free and highly capable, but requires time to configure.
- Streamlabs: a more beginner-friendly version of OBS with built-in widgets and alerts. Good for presenters who want OBS-level control with a guided interface.
- Restream: not a production studio but a multistreaming service that sends your stream to YouTube Live, LinkedIn Live, and other platforms simultaneously. Pair it with StreamYard or OBS for a complete setup.
For most presenters — especially those running corporate events, training sessions, or product launches — a browser studio is the right default. Switch to OBS when you need custom scene transitions, local capture, or a setup that goes beyond what a browser can handle.
How do you keep your audience engaged during a live stream?
On-camera presenting is its own discipline. Stage energy does not translate directly to a webcam; what reads as confident in a theatre can look stiff or over-rehearsed on screen. A few adjustments make a significant difference.
Camera and framing
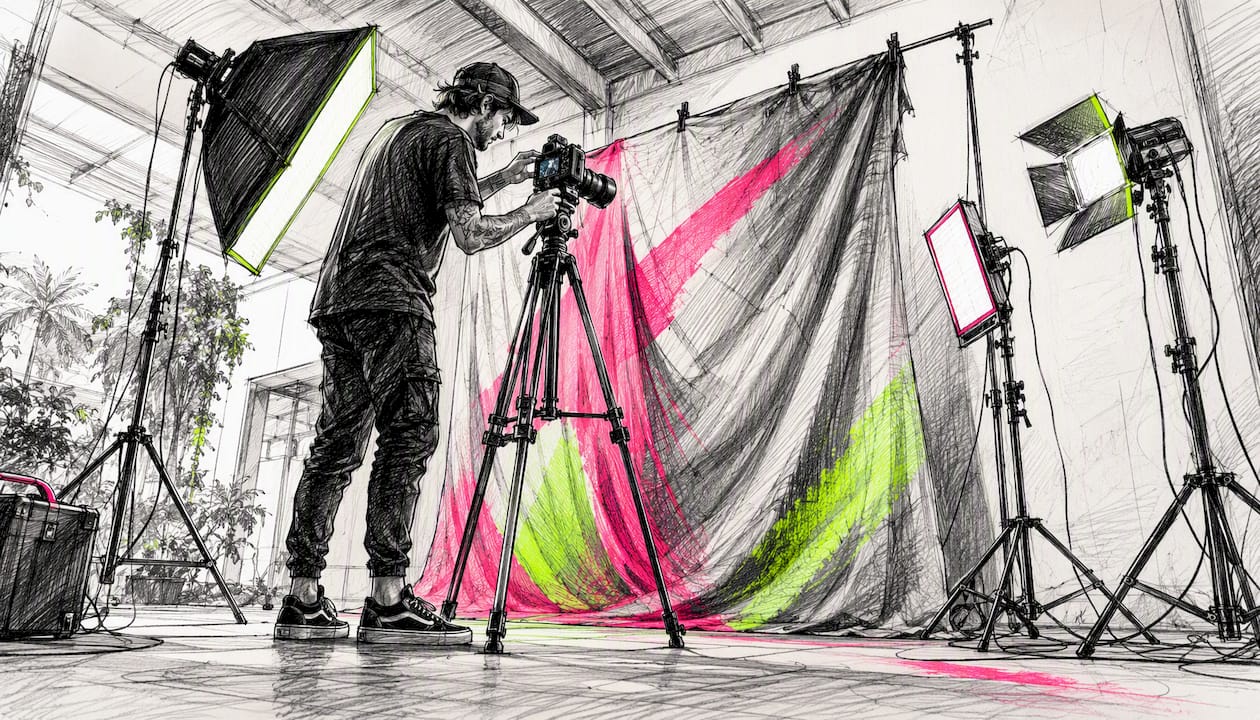
Position your camera at eye level so you appear to look directly at the audience. A head-and-shoulders frame with a slight distance from the lens feels natural and professional. Avoid busy or distracting backgrounds; a clean wall, a soft bokeh, or a well-lit virtual background all work. Place your key light slightly to one side of your face, add a fill light on the opposite side to soften shadows, and use a subtle backlight or rim light to separate you from the background.
Audio and voice
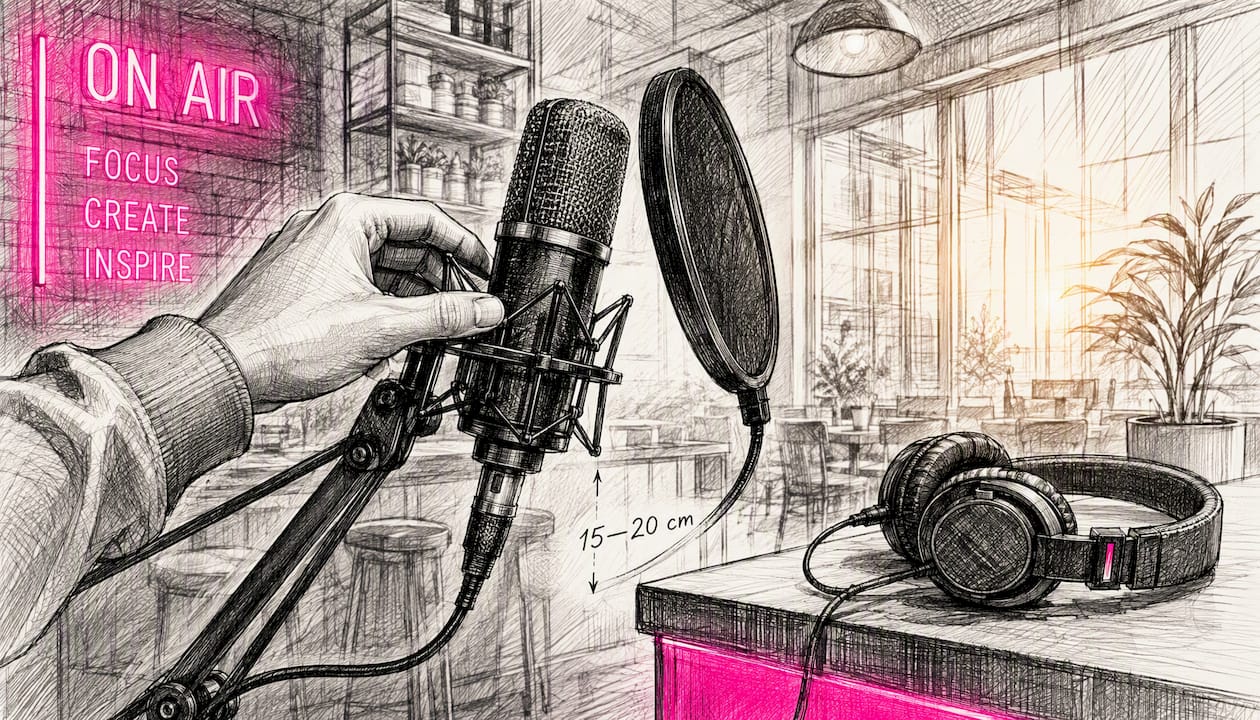
Keep your microphone close to your mouth — 15–20 cm is a good starting point for most condenser mics. Monitor your levels through headphones before going live. A pop filter reduces plosive sounds, and gentle compression (if your interface or software supports it) smooths out volume spikes. Uscreen's live-streaming guidance consistently highlights good audio as one of the highest-impact improvements you can make to stream quality.
Slides and pacing
Fewer words on each slide, stronger visuals. Call out your slide timings in the run of show so you do not rush or stall. Never read slides verbatim — your audience can read; they came to hear your perspective.
Engagement
Assign a chat moderator before you go live. Prepare two or three interactive prompts to drop into the chat during the presentation. Plan two clear Q&A moments — one mid-session and one at the close — rather than leaving questions to pile up at the end. Use polls or reaction tools sparingly; one well-timed poll lands better than five scattered ones.
Pro Tip: Stage gestures are too large for camera. Smaller, clearer hand movements and deliberate vocal variation — pace, pitch, pause — carry far more weight on screen than broad physical expression. Practise with a recording of yourself before the event.
For performers and musicians looking to build community through live formats, the QuickRapReview guide to building a fanbase through live streams offers useful engagement principles that translate well beyond music.
Should you go live or pre-record your presentation?
Both have a place, and the decision usually comes down to stakes, interactivity, and time zones.
Pre-record when:
- Your audience spans multiple time zones and a single live slot would exclude too many people
- The content is high-stakes and editing control matters (a product launch, a keynote)
- Technical complexity is high and you want the safety of a clean take
Go live when:
- Real-time Q&A and spontaneous interaction are central to the value
- You want the energy and authenticity that live formats create
- Your audience is concentrated in one or two time zones
You can combine both: schedule a pre-recorded stream as the video source, then have a live host on camera and live moderators in the chat. StreamYard's guidance recommends this hybrid approach — the pre-record handles the polished content delivery while the live presence maintains authenticity and handles audience questions.
For repurposing, save a high-quality local recording alongside the platform recording. Mark timestamps for highlights immediately after the stream. From one 45-minute presentation, you can create short social clips, a trimmed on-demand version with chapter markers, and a highlight reel for a casting showreel or portfolio.
Troubleshooting common failures and your run-of-show template
Most live-stream failures are predictable. Here is how to fix the common ones fast.
Common issues and fixes:
- Stuck slides: you are sharing the editing window, not the slideshow. Switch to the slideshow window immediately.
- Audio dropout: check your mic connection and interface power; restart the audio driver or the streaming app if needed.
- Stream not showing on platform: check your stream key and confirm the encoder is connected. A wrong or expired stream key is the most frequent cause.
- Visible desktop notifications: enable Do Not Disturb before going live, not during.
- Latency and delay: expect 10–30 seconds of delay on most platforms. Plan for it in your Q&A — read questions from the chat rather than waiting for verbal responses.
Fallback options:
- Local recording running throughout as a backup
- Pre-recorded version of the presentation scheduled and ready to switch to
- Mobile hotspot as a secondary network if your primary connection drops
Run-of-show template
A structured pre-event checklist with separate 24-hour, one-hour, and five-minute checks consistently reduces on-air incidents.
- T-24 hours: confirm all presenter logins, test slides in the studio, verify stream keys, enable local recording, share the run of show with all participants.
- T-60 minutes: open studio, connect all devices, run a full audio and video check, confirm backup encoder or file is ready.
- T-15 minutes: start encoder, preview stream in control room, check mobile visibility, brief moderator on chat plan.
- T-5 minutes: final slide check, confirm presenter notes visible, mute all non-essential notifications, signal all participants to stand by.
- During: monitor chat on a separate device, follow the run of show, use scene switches as planned, keep a backchannel open with your producer.
- Post-stream: end stream on platform, stop encoder, save recordings, note timestamps, send follow-up assets to participants.
Why simplicity is the most professional choice you can make
The single most consistent piece of advice from experienced live-stream producers is this: pare back the setup and rehearse what remains until it is automatic. Industry professionals repeatedly note that the biggest mistake presenters make is over-complicating the technical chain — adding cameras, overlays, and effects that create multiple points of failure without meaningfully improving the audience experience.
A simpler setup has fewer things that can go wrong. When something does fail, you can diagnose and fix it faster. And crucially, a presenter who is not firefighting technical problems can focus entirely on delivery — which is what the audience actually came for.
Adoptable checklist:
- Remove any feature or scene you have not tested at least twice
- Define one fallback plan and make sure your producer knows it
- Run a full dress rehearsal with all presenters and your moderator
- Label all physical inputs (cables, interfaces, monitors) so you can troubleshoot by sight
- Keep a dedicated backchannel open during the event — Slack or WhatsApp works well — so you and your producer can communicate without the audience hearing
Pro Tip: A backchannel between host and producer is standard in professional broadcast. Use it to relay cues, flag technical issues, and coordinate scene switches without breaking the flow of the presentation.
A 10-minute dry run in the studio where you click through every slide, switch every layout, and test the demo flow with all participants is worth more than an hour of solo preparation.
What an actress brings to live presenting that most guides miss
There is something the purely technical guides rarely say: the camera is not a passive recorder. It reads you. It picks up hesitation, shallow breathing, and the micro-tension that comes from monitoring your own performance while trying to deliver it. Stage training addresses this directly, and the translation to live presenting is closer than most people realise.
Projection becomes mic technique. On stage, you project to fill a room; on camera, you pull back and let the microphone do the work. The energy stays the same — the volume drops. Blocking becomes framing. Where a stage actor marks their position relative to the set, a camera presenter marks their position relative to the lens. The discipline is identical; the scale is different.
Beats and pauses, which actors use to let a moment land in a theatre, work even better on camera. A two-second pause before a key point gives the audience time to absorb it and signals that something important is coming. Rushing through a presentation because silence feels uncomfortable is one of the most common on-camera mistakes — and one of the easiest to fix with a little rehearsal.
Practical steps I recommend:
- Record a short two-minute take of yourself presenting a single slide. Watch it back with the sound off first, then with sound only. You will spot the habits you cannot feel while performing.
- Practise your warm-up routine before every stream: breath work, a few vocal exercises, and a physical shake-out to release tension before you sit down at the camera.
- Simplify your gestures deliberately. What feels natural on camera often looks exaggerated; what feels understated usually reads as calm and authoritative.
The live performance community has been working through these same questions — how to translate stage energy into an online format — and the answers converge on the same principles: presence, preparation, and the willingness to be genuinely yourself on screen.
When a professional presenter makes more sense than a DIY setup
For high-stakes corporate events, product launches, or any broadcast where the host needs to be fully on-screen without managing production, hiring a professional live presenter or producer is the cleaner choice. The value is not just on-camera delivery; it is the run-of-show management, audience handling, rehearsal coordination, and script polish that a professional brings to the whole event.
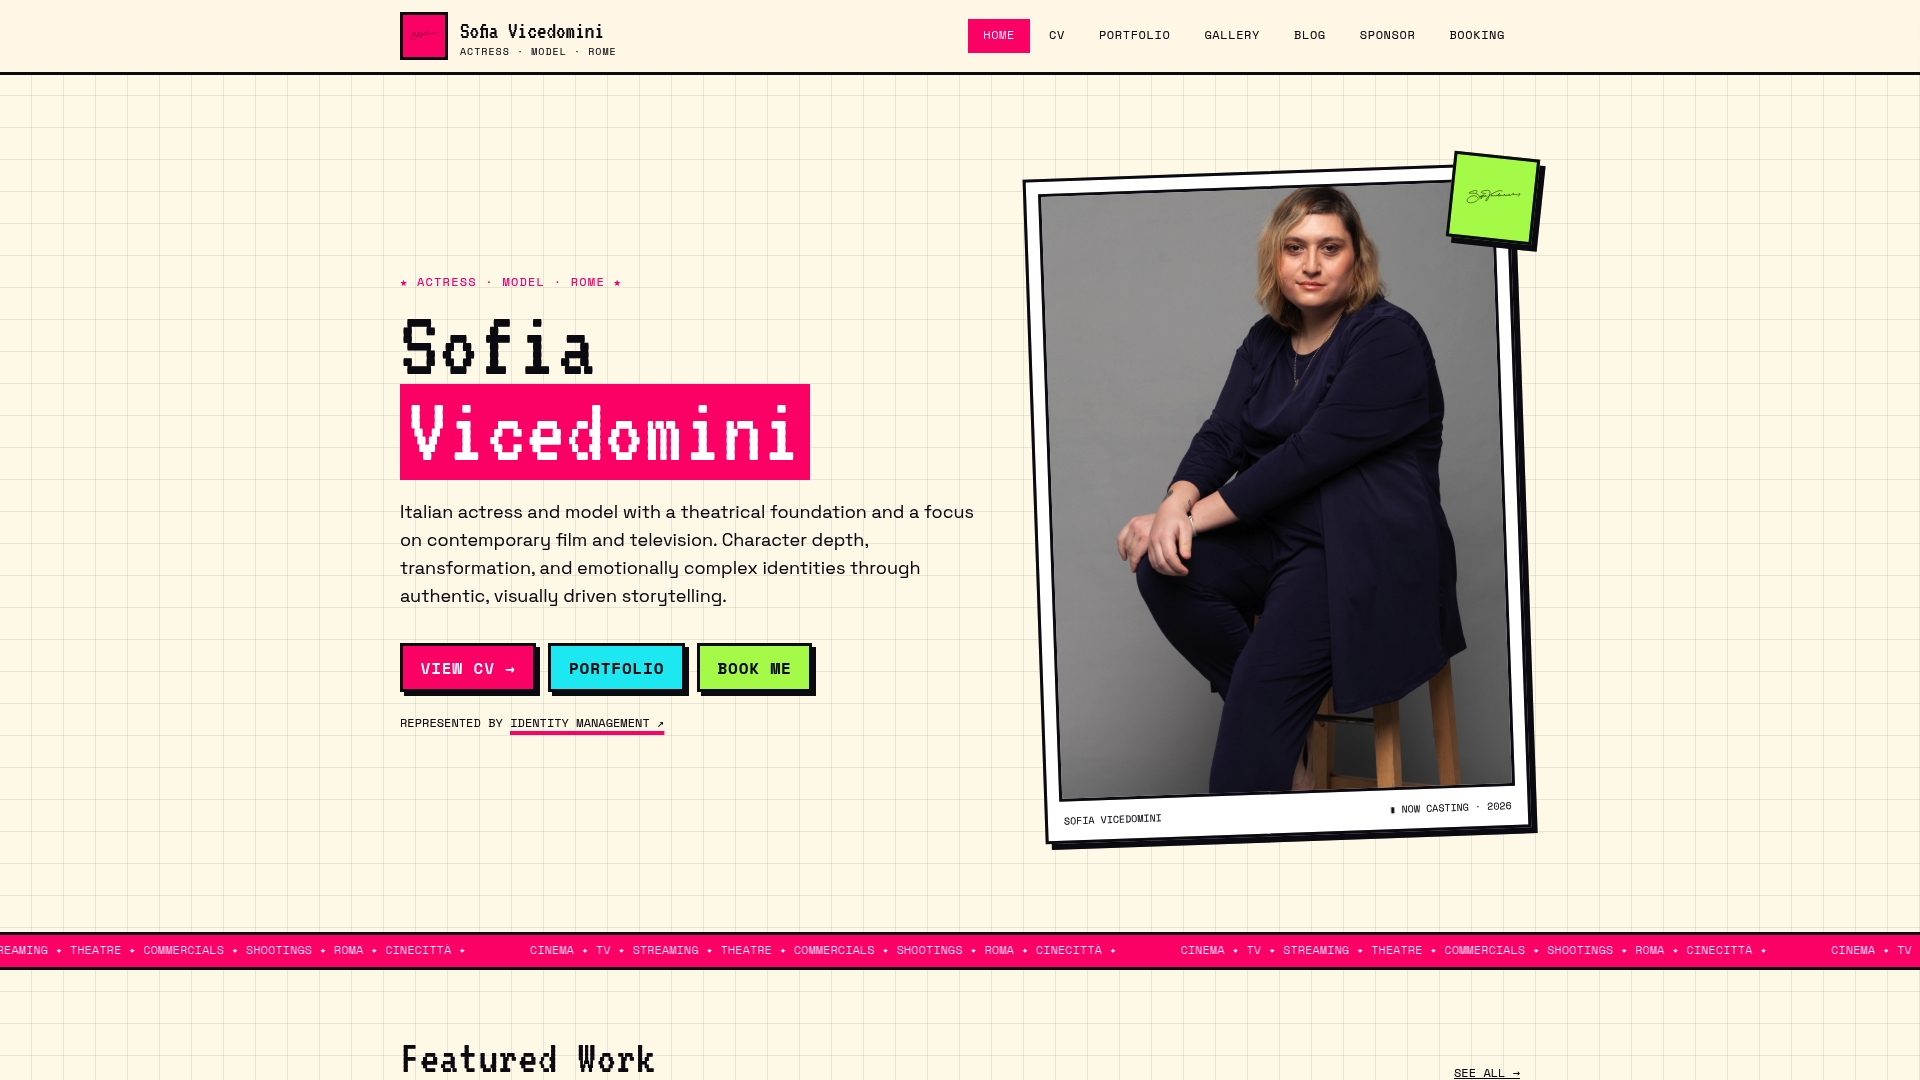
Sofiavicedomini brings a theatrical foundation and on-camera experience to live event presenting and hosting — the kind of presence that holds an audience's attention from the opening frame to the final Q&A. Whether you need a polished host for a corporate stream, a presenter for a product launch, or a professional face for an interactive live event, the combination of performance training and live-format experience means the production runs smoothly and the audience stays engaged. View the full presenter and hosting portfolio, and get in touch to discuss your event, at Sofiavicedomini.
Sources
The following official platform guides and production resources are worth bookmarking for encoder settings, platform-specific limits, and production planning.
- Streaming tips - YouTube Help
- How to stream sales presentations — StreamYard blog
- How to stream a PowerPoint slideshow with picture-in-picture — BoxCast
- 4 Essential Tools for Live-Streaming Corporate Presentations — Corporate Streams
- 9 Live Streaming Tips & Tricks to Level-Up Your Streams | Uscreen
Always check the official platform documentation for current encoder settings and bitrate limits before each event — platform specifications update regularly, and a setting that worked six months ago may no longer be optimal.
FAQ
How do you live stream a presentation with slides and webcam?
Use a browser studio like StreamYard or a local encoder like OBS Studio. Share the slideshow window (not the editing view), keep your webcam active, and combine both in a picture-in-picture or side-by-side layout.
What equipment do you need for a live stream?
At minimum: a webcam or camera, a USB microphone, a ring light or softbox, a stable internet connection, and a streaming studio. A second monitor for presenter notes makes a significant practical difference.
How much does a live stream cost to set up?
A functional budget setup uses a laptop webcam, a USB microphone, and a free tier of OBS Studio or StreamYard. Professional setups with dedicated cameras, audio interfaces, and hardware encoders can run into several hundred pounds; for one-off events, renting equipment is often more practical.
How do you host a live stream professionally?
Start your encoder at least 15 minutes early, preview in the platform's control room, assign a chat moderator, and follow a written run of show. A full dress rehearsal with all presenters the day before is the single most effective preparation step.
What is the best platform for live stream presenting?
YouTube Live suits broad public audiences; LinkedIn Live works well for professional and corporate content. For production, StreamYard is the easiest browser studio for slide-led presentations, while OBS Studio offers the most control for complex setups.